This feature allows you to add custom fields to the customer screen within the SalesPro Application. The values entered into these custom fields can then be pulled over automatically into your contracts and other documents.
Setup
- In the SalesPro Dashboard navigate to App Settings.
- Click on Custom Fields.
- Click the Add Group button to add a new grouping of custom fields.
- Give the new group a name. (example: Insurance Info, Property Info, Billing Address ect.)
- Click Add New Field + to add a custom field to a group.
- Fill out the Name and setting for your custom field.
- Click Save.
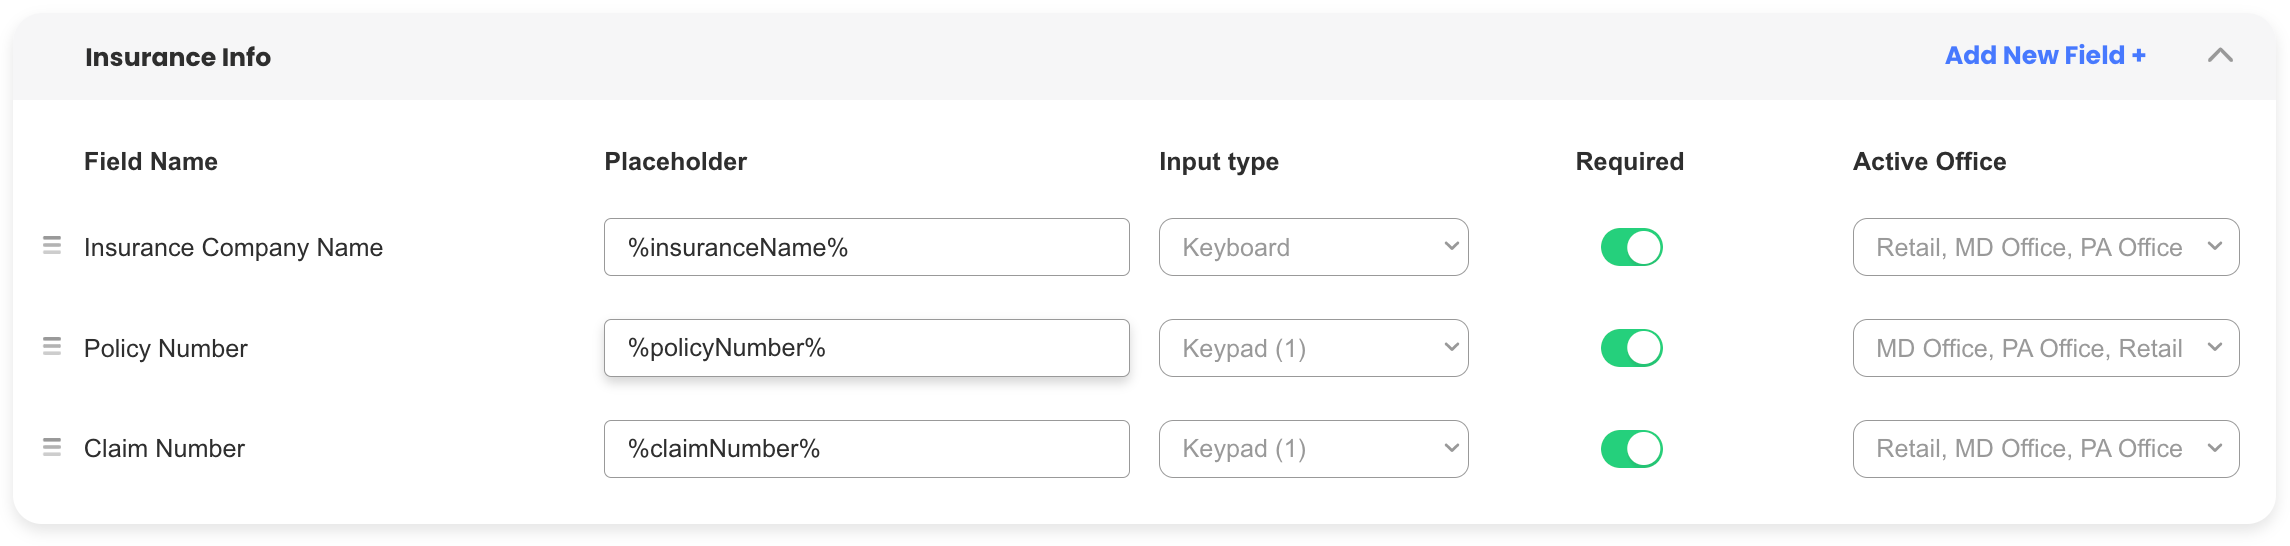
- Group Name: The name or label given to any custom fields within that group.
- Name: The name of the custom field.
- Placeholder: Assign a placeholder to the field. This placeholder can be used in documents to bring over the value of the field automatically into documents.
- Input Type: Indicate how this field will be filled out.
- Required Toggle: Toggling to the on position will make your field required.
- Office: Assign which offices these custom fields should appear in.

Using Custom Fields
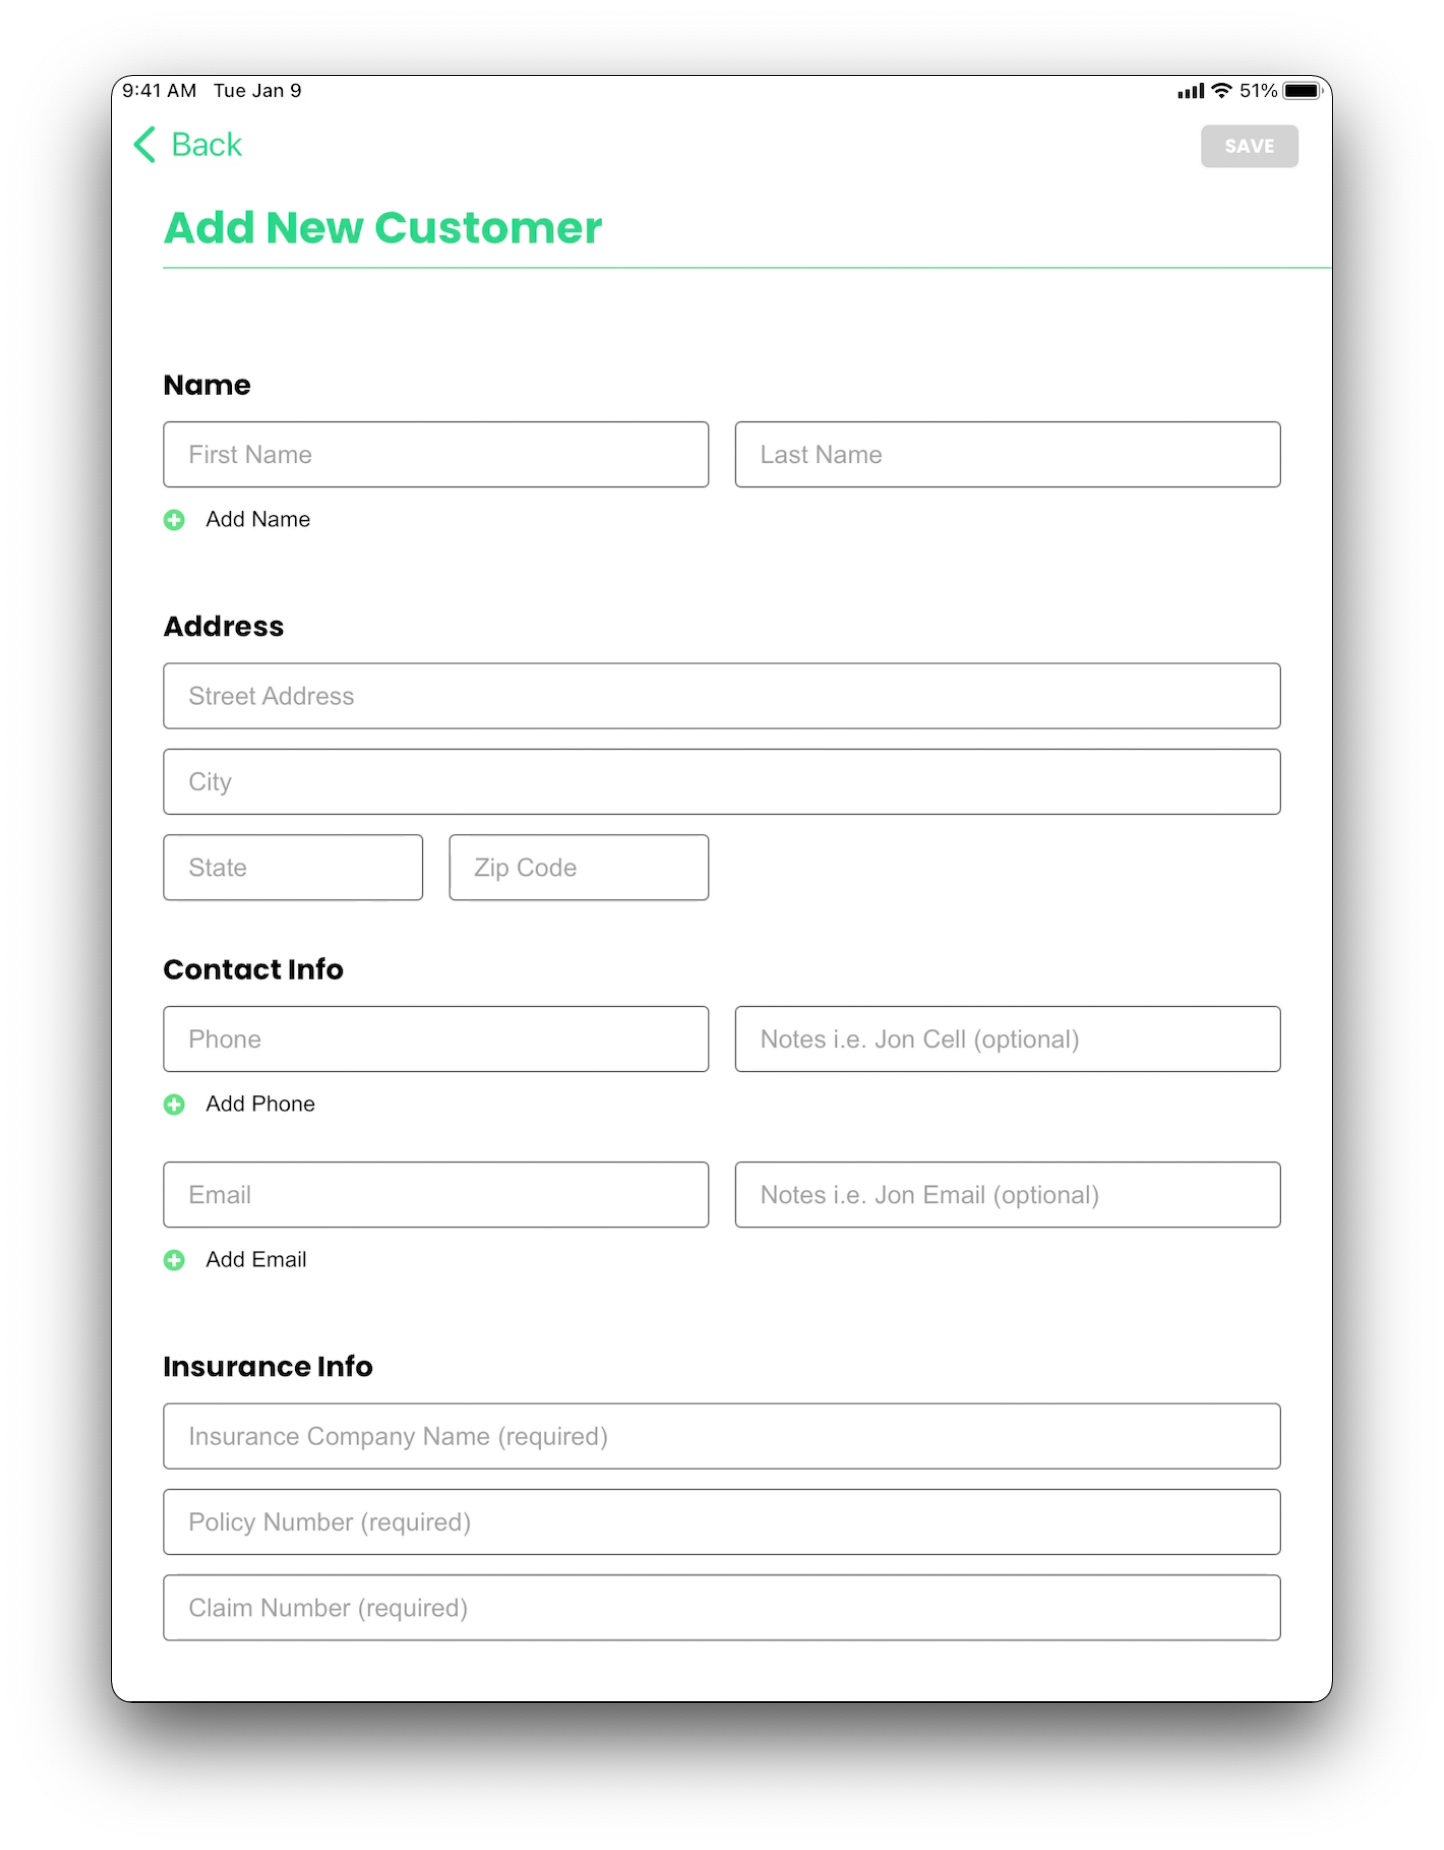
Once your custom fields have been saved you may now use them in the SalesPro Application.
- Custom Fields can be found on the Add New Customer screen.
- You may also click Edit on an existing customer to update the custom fields.
- Use the placeholders you assigned to the fields in your documents to pull information over automatically into documents.
- Once an estimate has been saved the values filled out on the custom fields will appear under the estimate on the SalesPro Dashboard.