Because formulas are not able to be used with dynamic cells, we need to use a switch for pricing changes on contracts. The below example is adding a 10% additional fee.
- Add a Line Item.
- In the title, add the name of the fee. In this example, “10% Fee.”
- Change the cell type to “Switched.”
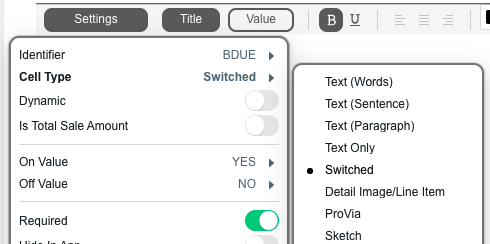
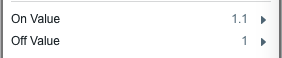
- Under Settings, set the “On” value to 1.1 and the “Off Value” to 1. 1.1 is the value we will multiply the total by to get the 10% increase. If you want a 25% increase, you would set the “On” value to 1.25 for example.
- Set the identifier for this cell. For example “discount”.
- Add another Line Item.
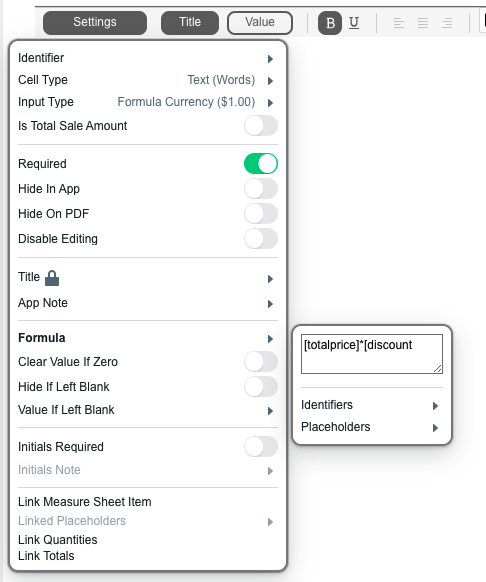
- Change this cell type to Formula Currency by clicking Settings > Cell type.
- Click settings then formula, and multiply the identifier set up in step 5 (for example distance) by the identifier for total price. This should already exist within your contract. For example [totalprice]*[discount].
The idea behind this is that when the switch is turned on, the total price is going to be multiplied by 1.1, meaning a 10% increase. If the switch is turned off, it will be multiplied by 1, providing the same total price.
For another example: If you are trying to add a discount switch for 25%, it would be similar. The “On” value would be .75 and the “Off” value would be 1. When it is set to “On” the formula will multiply .75 by the total price and display 75% of that number. When it is “Off,” it is multiplying the number by 1, which would display itself.