The Remote Credit App feature allows you to send your customer a default credit application for them to fill out themselves and send back to SalesPro where the information is securely stored. This information can then be pulled into any Lender Credit Applications in your SalesPro account.
Quick Steps
- Set up the Remote Credit App integration settings.
- Set up Default Credit Application settings.
- Send your customer a Secure Credit Application via email.
- Pull up the completed Credit App information on the iPad.
- Send the credit application to the specified Lender.
Integration Steps
- In your SalesPro Dashboard, click Finance > Remote Credit Apps.
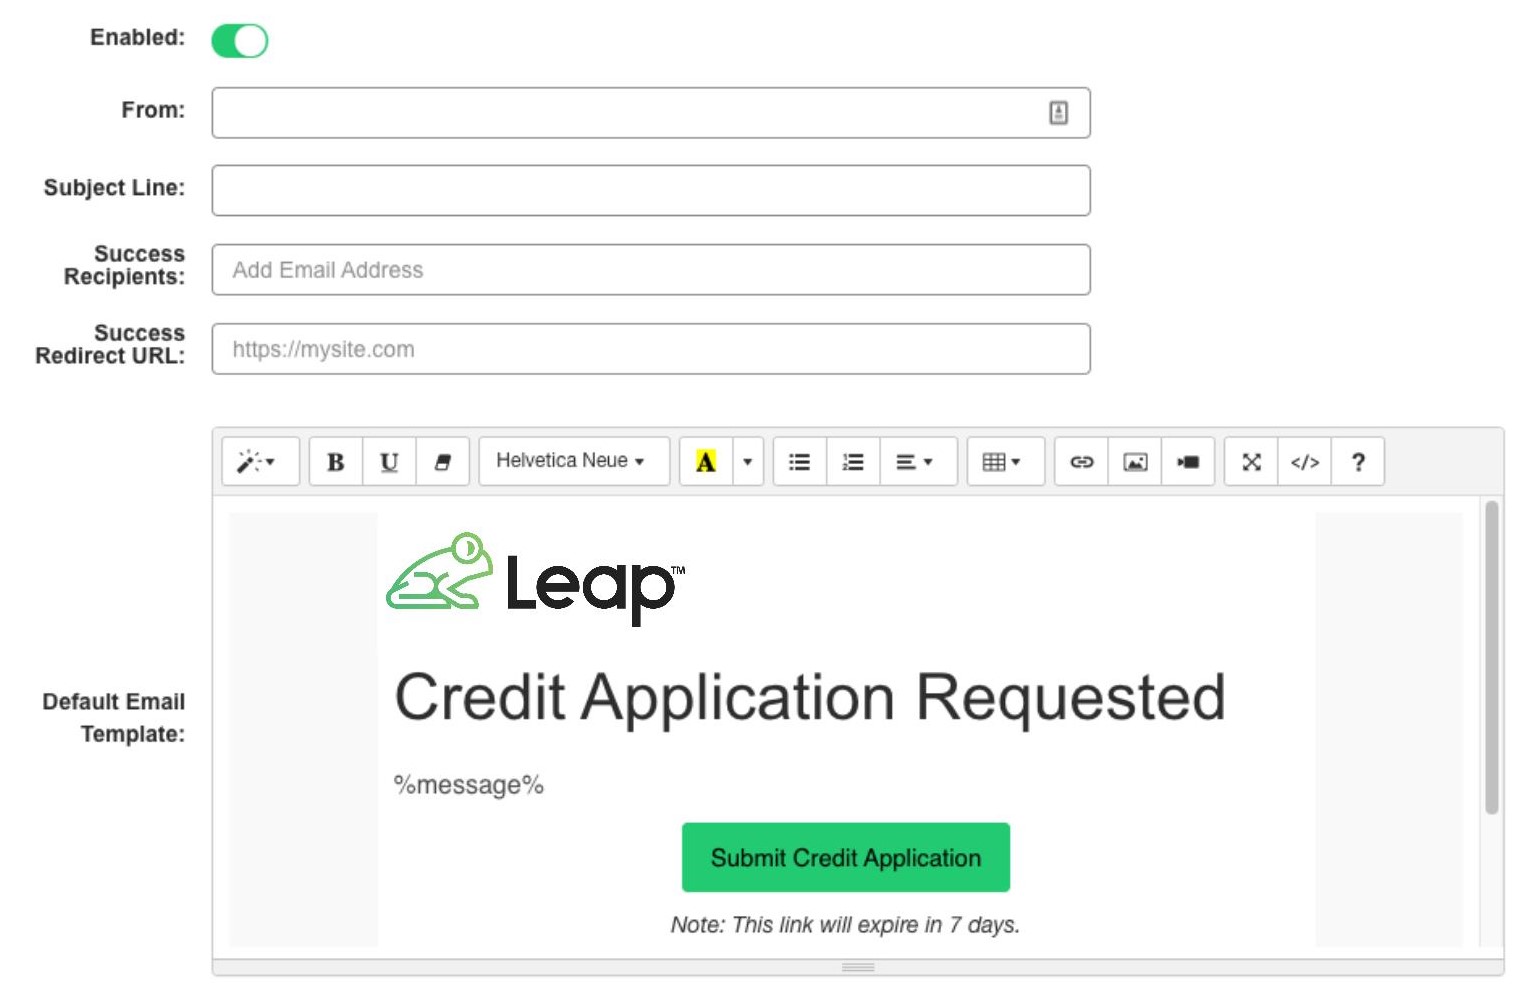
- Switch on Enabled.
- Enter a default From Email. This is the email address the credit application will be sent from. This field is required.
- Enter an email subject in the Subject Line. This is the subject of the email your customer receives when you send a fillable credit app. This field is required.
- Add Success Recipients. These are the email addresses of the persons you want notified when the credit application has been completed by the customer.
- Enter a Success Redirect URL. This is the website the customer will be redirected to after submitting a credit app. If left blank, the customer will be redirected to a generic SalesPro thank you page
- The Default Email Template is a generic email layout for a credit app request. This can be modified if you wish to do so.
- Click Save.
Default Credit App Settings
Set up the default credit application to enable send. Click here for more information on how to add a default credit application to your account.
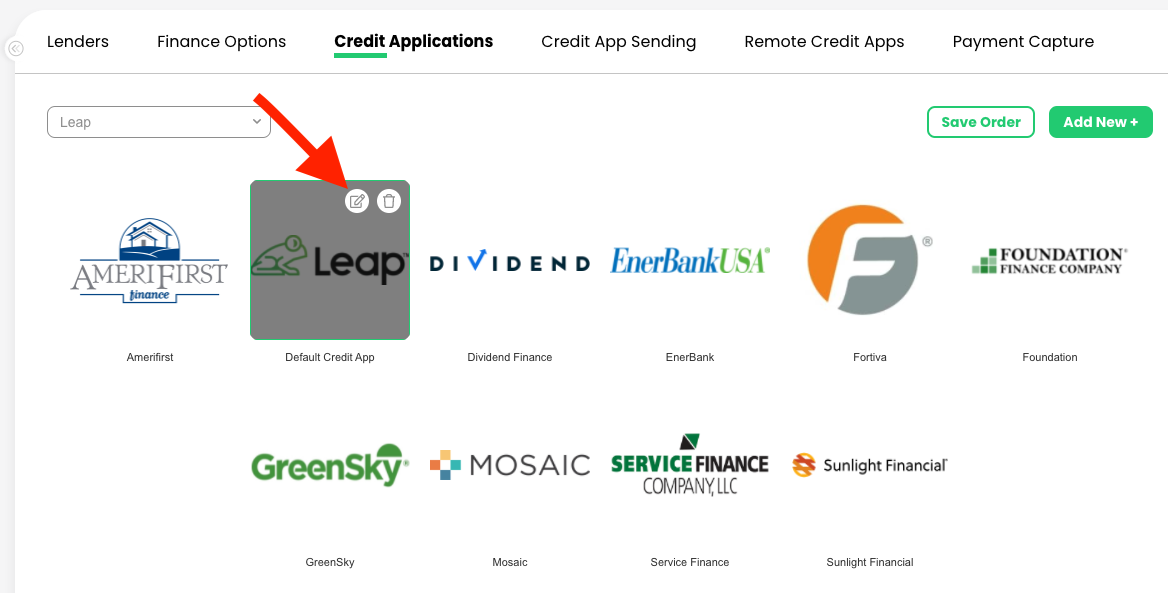
- Go to Finance > Credit Applications.
- Hover over Default Credit App and click the pencil button to edit.
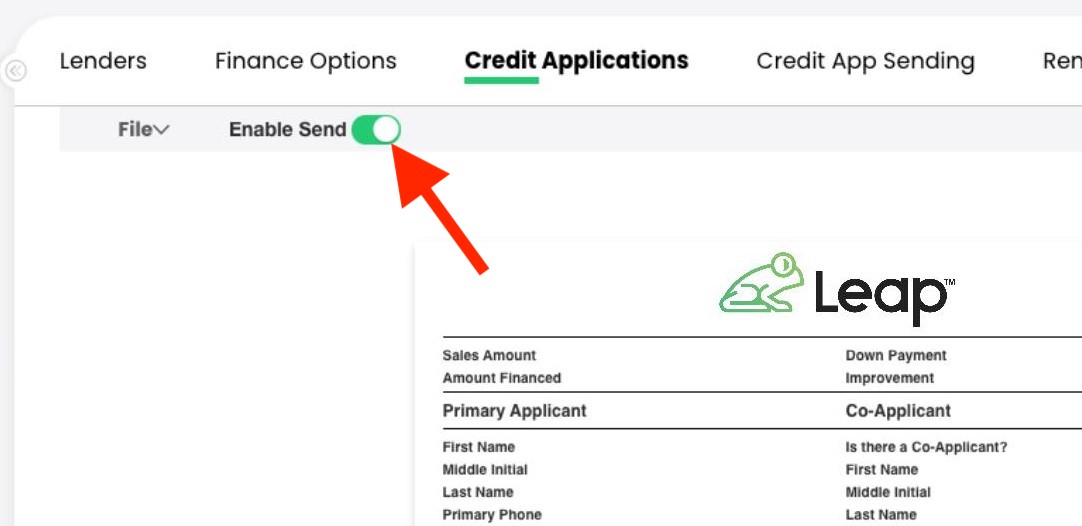
- Switch on Enable Send.
- Select a field you want the customer to fill out. (ex. First Name)
- Click Settings.
- Toggle on Customer Fillable.
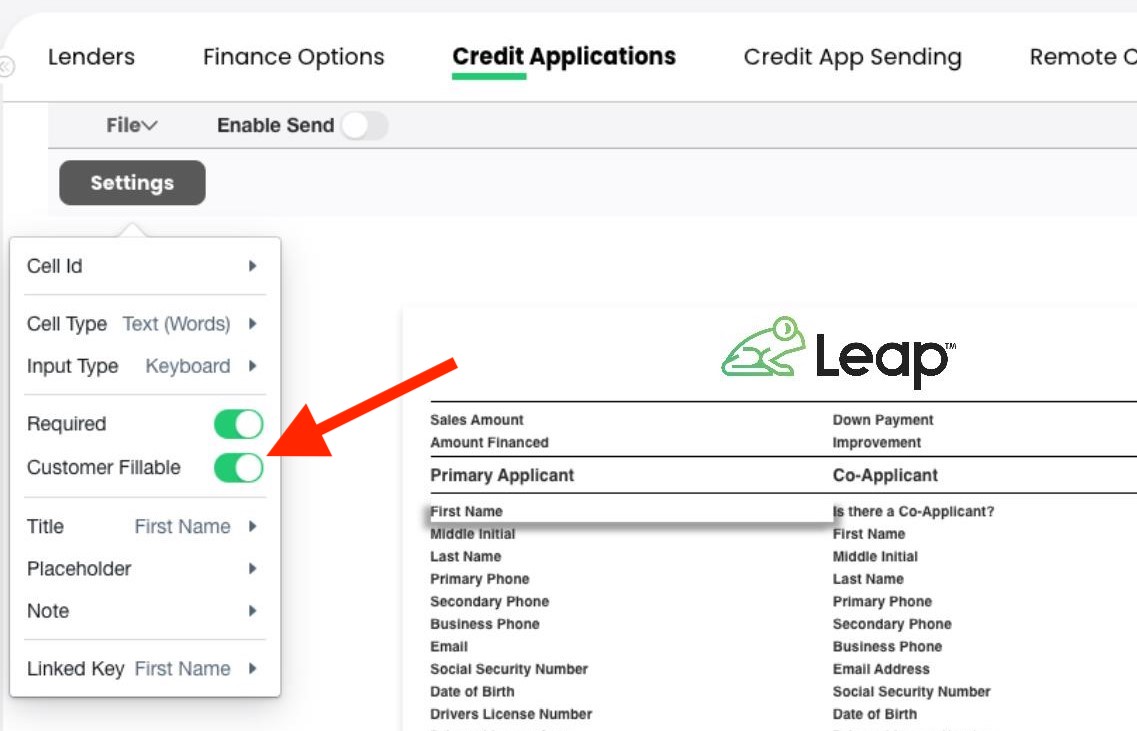
- Click Save