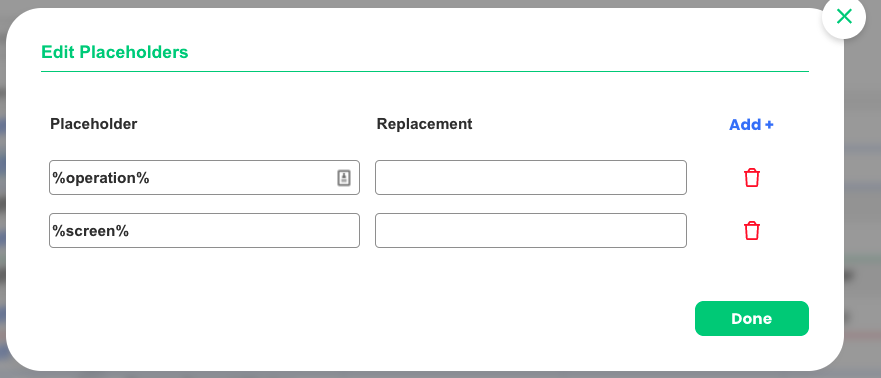
Linking allows the Cell/Section to appear in a document ONLY if the item or items have been added in the estimates. You can link either a Section of the body or an individual cell to Measure Sheet Items, but not both. Linking will also bring over information from the price guide if Placeholders are used. Placeholders are similar to merge fields which are used to bring over certain information from price guide to documents. See Placeholders Article for a complete list of Placeholders. Placeholders can be used in the App Title, Contract Title, App Note and Default Value section of the Cell. You can use multiple Placeholders in a single cell and arrange them in any order.
Linking a Cell
Allows you to link one individual item from your price guide. This method is typically used if you have different cells in the document for different Measure Sheet Items within the same section.
- Create/Edit the Cell.
- Use Placeholders in the cell to indicate what type of information you are bringing over from the estimate.
- Link the Measure Sheet Item to indicate which item you are bringing over the information for.
- Click on the Cell.
- Go to Settings and select Link Measure Sheet Item. This will display your Price Guide items on the right hand side of the screen. You can select ONE Measure Sheet Item to link.
- Click Done.
Example of a Linked Cell
Linking a Section
Allows you to link multiple Measure Sheet Items from your price guide. This method is typically used if you are bringing over the same information for multiple items.
- Create/Edit Cell.
- Use Placeholders in the cell(s) of a section to indicate what type of information you are bringing over from the estimate.
- Link the Section to the Measure Sheet Items to indicate which items you are bringing over the information for.
- Click on the Section Title, or use the Tree to select your section.
- Go to Settings and select Link Measure Sheet Items. This will display your Price Guide items on the right hand side of the screen. You can select multiple Measure Sheet Items to link.
- Click Done.
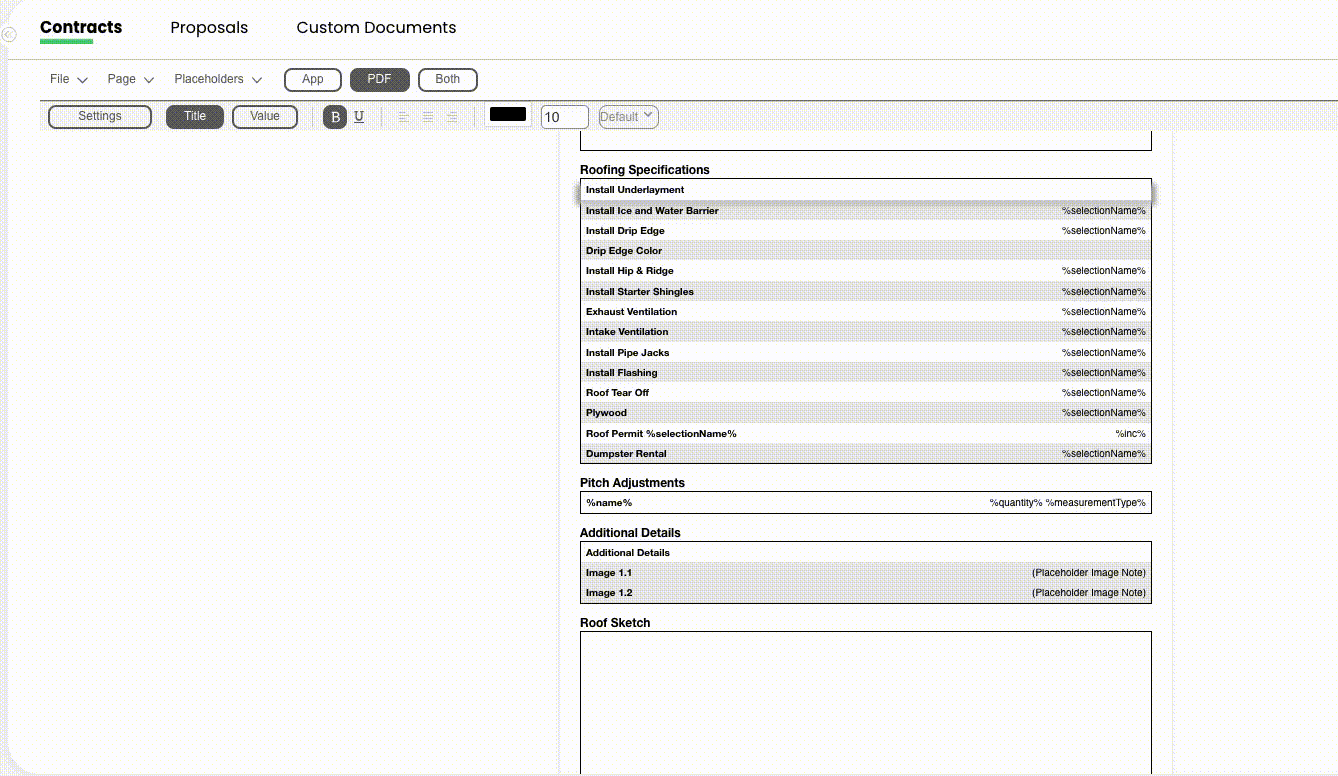
Example of a Linked Section
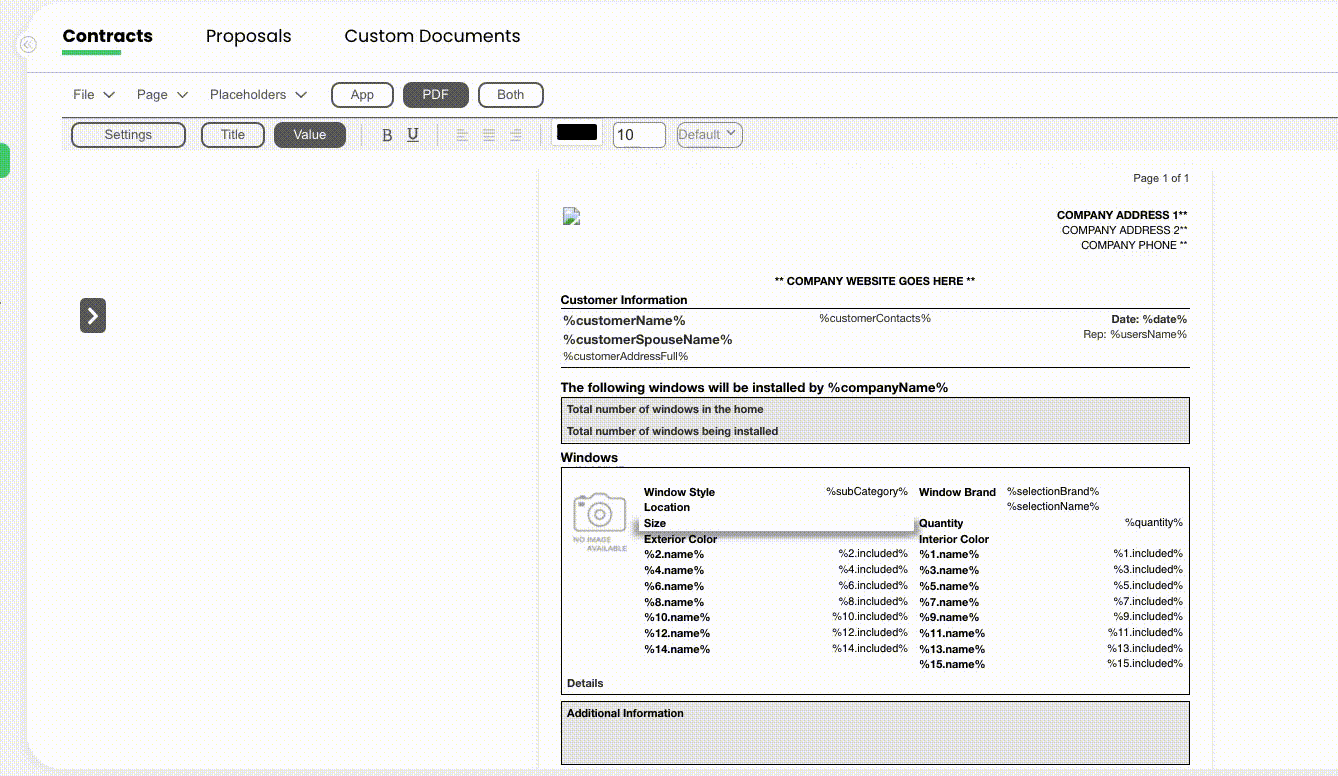
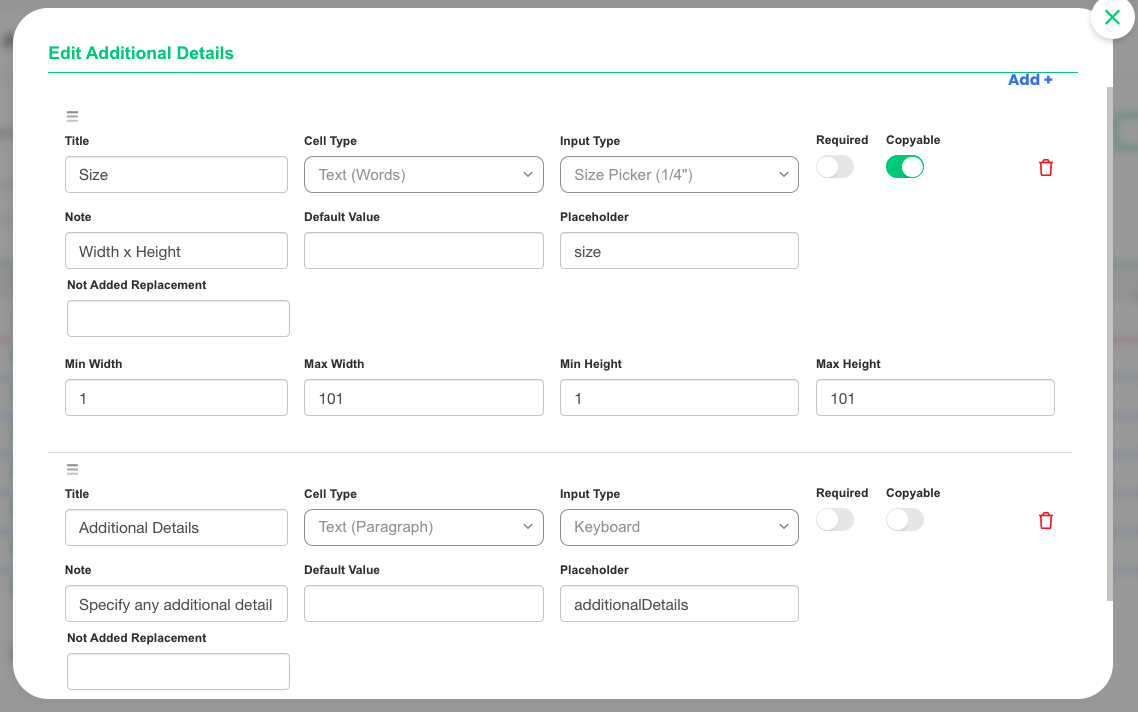
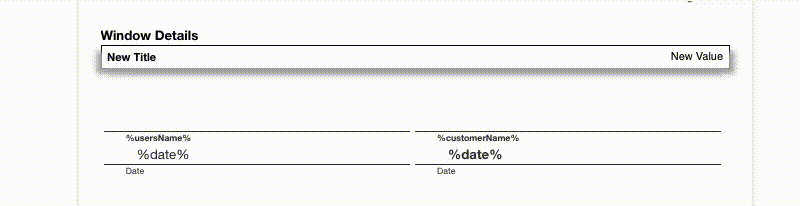
In the example below, all of the windows in the Windows section are linked to the body section and the Placeholders %tag% and %size% are used in the Default Values to pull over the Location and Size Additional Details.
Linking an Upcharge
Linking Upcharges is similar to linking Measure Sheet Items. The only difference is the Placeholders used. To link Upcharge information from the Estimate to a document, you must first create an Identifier for the Upcharge in your price guide. You can do this by editing the Upcharge and adding a unique name to the Identifier field. Identifiers tell SalesPro which Upcharge you are bringing the information over for.
Format the placeholder the following way to bring over the information: %Identifier.(information you would like to bringover)%
Example: %identifier.name% – The name of the Upcharge. %identifier.quantity% – The quantity of the Upcharge. See Placeholders for complete list of Placeholders.
Upcharge Example

The above Upcharge has an Identifier of Diamond. To bring over the name of the Upcharge use %Diamond.name%. This will print the words Diamond Grids on the document if the Upcharge is selected in the estimate.
Additional details on upcharges can also be linked using the following format: %identifier.(placeholder from additional detail)% The above Size additional detail on the Upcharge has the Placeholder size. To bring the size selected over to the contract we would use %Diamond.size%. This will place the size value on the document if the Upcharge is selected in the estimate.
Sync Placeholders
This is commonly used when multiple items with different Placeholders are linked to a section. For instance, if you are linking all of your windows in a single section and they have varying Placeholders, the sync Placeholders button will create custom Placeholders with blank replacements for any Placeholders that do not exist on the items. This needs to be done so the Placeholders do not print on the contract. SalesPro will look through all the linked items in a section and cross reference them with all the Placeholders created in the Price Guide, if Placeholders do not exist for any of the linked items SalesPro will then create custom Placeholders with blank replacement values.