The Finance Options feature in SalesPro allows your users to quickly see which financing plans your company offers as well as calculate monthly payments based on the total amount financed from the estimate.
Add Finance Options
- In your SalesPro Dashboard, navigate to Finance on the menu.
- Click Finance Options.
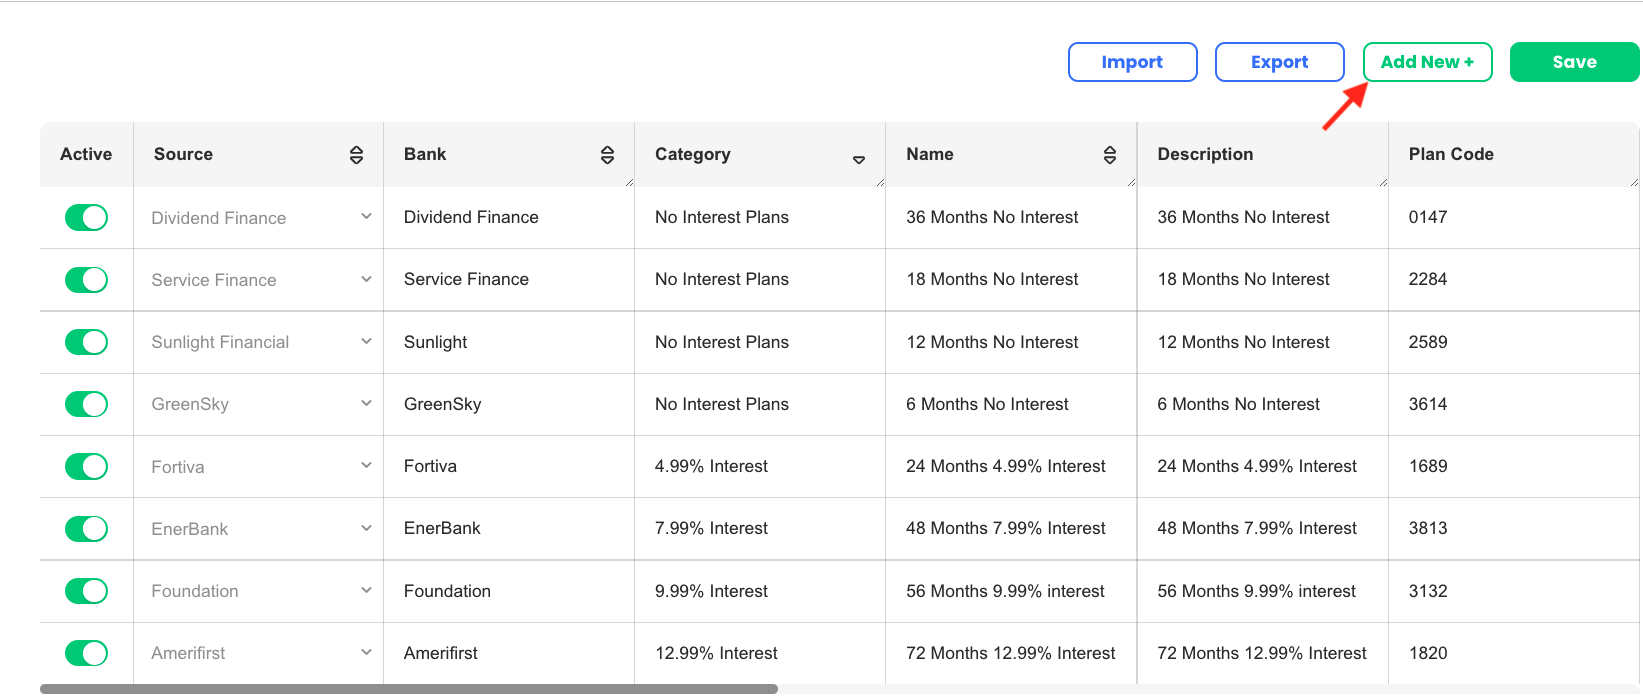
- Click the Add New button to add a new Finance Option.
- Toggle on the Active switch to make this plan available in the app.
- Fill in all the fields. See Finance Option Fields below for more information.
- Click the Save button icon to save your changes.
Finance Option Fields
| Column | Description |
|---|---|
| Active | Switching this on allows this particular Finance Option to be available in the app. When switched off, it will still be show on the Dashboard, but it will no longer be available in the app. |
| Source | The source of this finance option. Source includes all Finance Lenders that SalesPro integrates with. If you have a finance option that doesn’t come from any of those lenders, simply choose ‘N/A’ from the picker list. |
| Bank Name | The name of the bank offering the finance option. |
| Category | The category the finance option falls under inside the app. |
| Name | The name of the finance option. |
| Description | A description of the finance option. |
| Plan Code | An ID number for the finance option. |
| Min Amount | The minimum finance amount needed to use the finance option. |
| Max Amount | The maximum finance amount for which the finance option can be used. |
| Interest Rate | The interest rate of the finance option. |
| Term | The number of payments in months. |
| Payment Multiplier | The payment multiplier used to calculate the monthly payment for the finance option. This will always be a number between 0 and 1. |
| Dealer Fee | The percentage amount the bank charges to sell the finance option. This will always be a number between 0 and 1. |
| Included Offices | The offices in your organization that can access the finance option. |
| Id (Column A) | The identification number of the finance option. If you are creating a new finance option leave this cell blank. * NOTE: This field only applies to the Excel Export/Import spreadsheet. |
| Delete (Column B) | Adding “DEL” to this cell will delete that finance option from your database when the updated spreadsheet is imported. There must be an “Id” associated with a finance option to be able to delete it. * NOTE: This field only applies to the Excel Export/Import spreadsheet. |
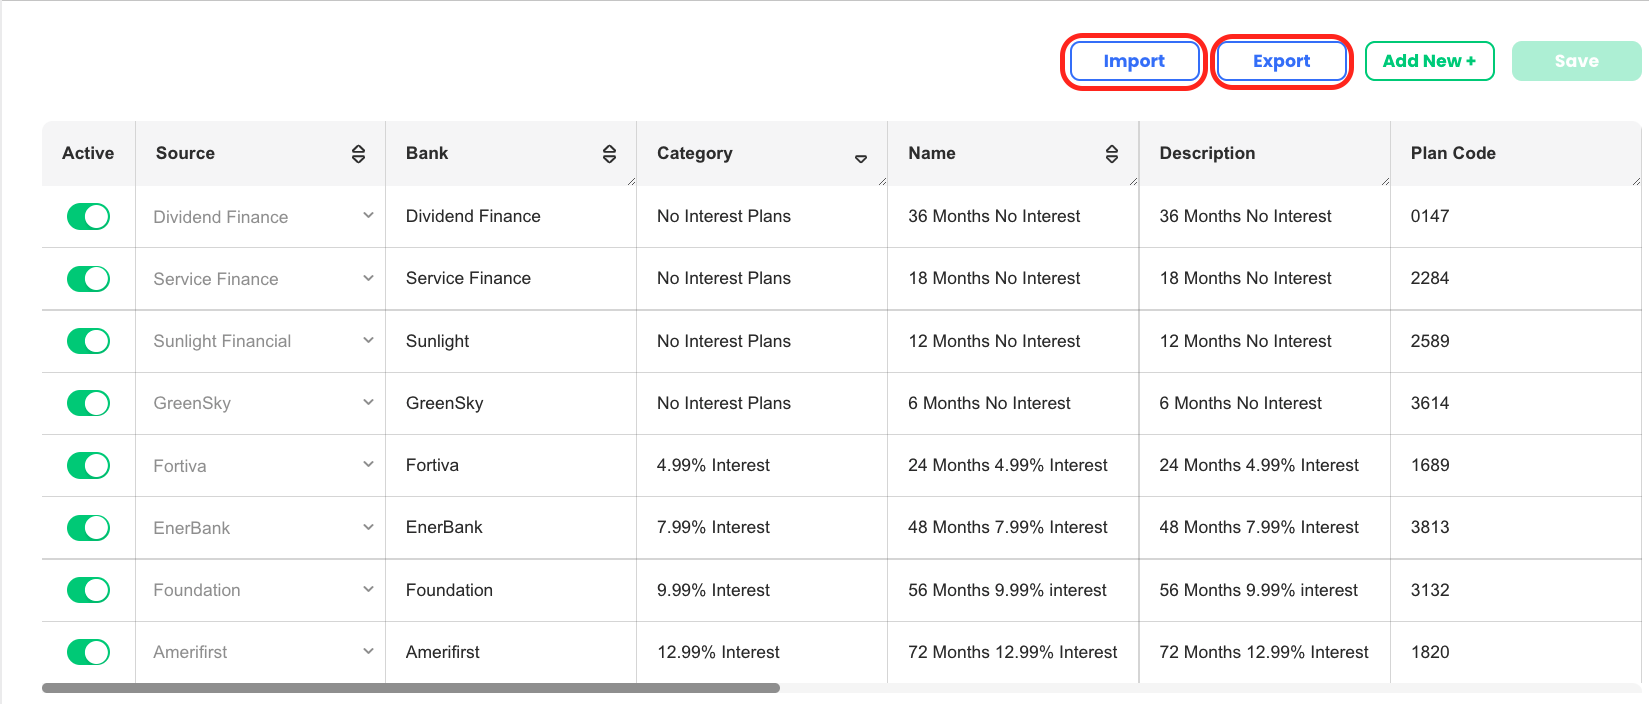
Importing & Exporting
Exporting/Importing allows you to view and edit all finance options in an Excel spreadsheet. This is particularly useful if you are adding multiple finance options.
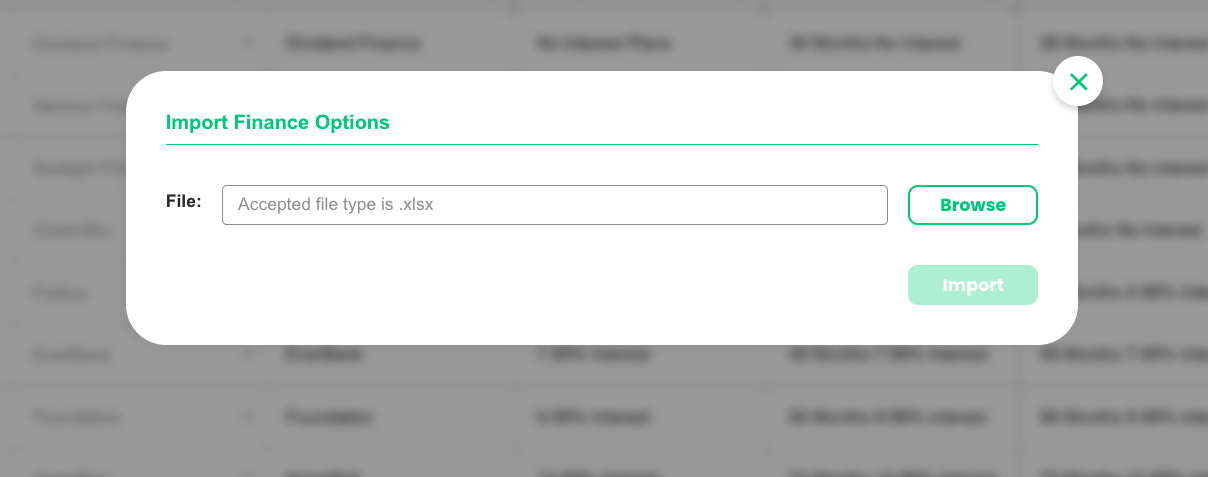
- To import click on Finance options, then click the Import button.
- To export click on Finance options, then click the Export button.
- If you are exporting, you will receive an email with the editable Excel spreadsheet.