
Manage Your Business, Your Way
We know that roofing and remodeling companies are not cookie cutter. With Leap™ CRM, you get a CRM that helps you manage and grow your business on your terms.
Are you a sole proprietor? Start a Leap Essential 14-day free trial
We Do Everything Our Competitors Do, Just Better

Customizable
Workflows
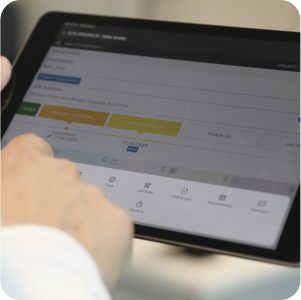
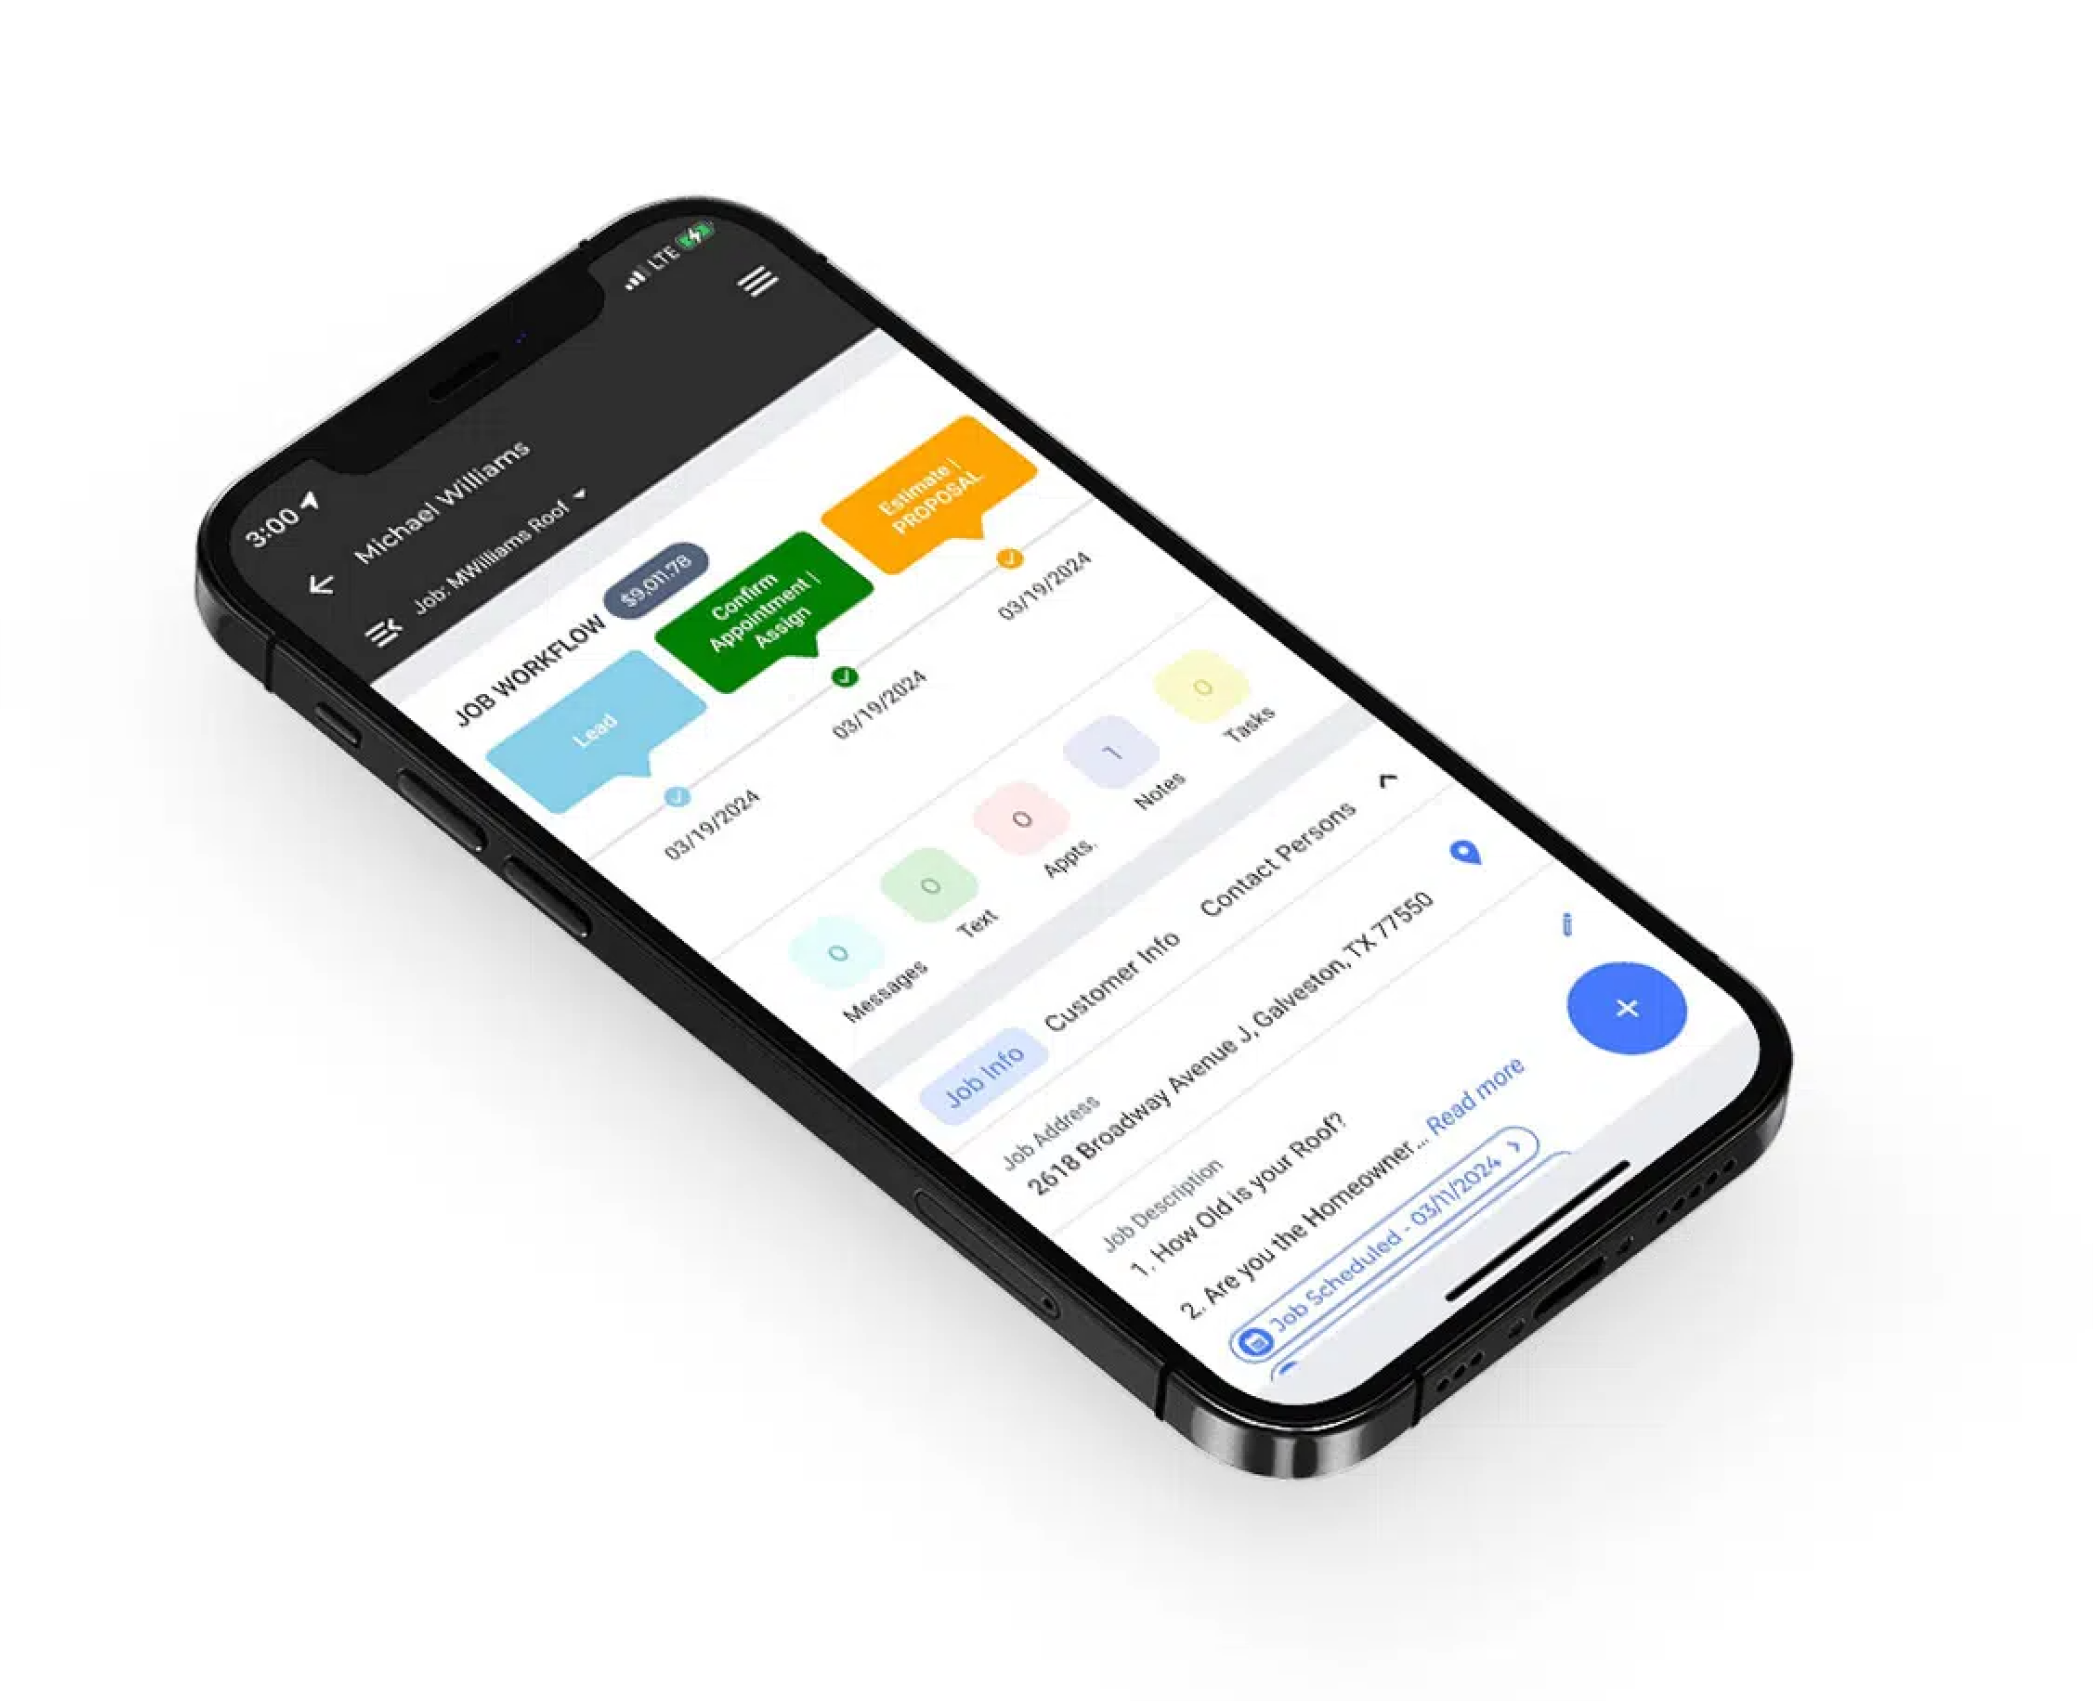
Other CRMs force you into their workflow – We don’t. With Leap CRM, you have fully customizable workflows that match the way you do business.

Subcontractor and Customer Portals
Give your subcontractors and customers all the info they need without getting bogged down in the unnecessary details with our custom portals.
Best-in-Class
Reporting
Get better insights into lead tracking, financial reporting, and production efficiency.

Killer Integrations
Stay connected with best-in-class integration partners, like Quickbooks, SRS, Angi, and more.

Powerful
Automations
Say goodbye to repetitive tasks and get more done with Leap CRM’s simple workflow automations.
Oh, and We Do Everything Everyone Else Does Too
Lead Intake
Organize and qualify your leads as soon as they come in. Use Leap’s workflow automation to send an initial email and create internal tasks.
Scheduling
Schedule sales meetings with relevant information like homeowner address, a map link, and the lead’s project details attached to the calendar invite
Estimates & Proposals
Quickly create an accurate digital estimate with taxes, commissions, overhead, and other margins built in. Turn estimates into custom digital proposals which can be accepted and signed by the homeowner.
Text Messaging
Read and reply to customer text messages directly in Leap CRM. See full message history, so you’re always up-to-date, no matter where you are.
Materials and Work Ordering
Use the proposal to create material and work orders. Use the SRS Roof Hub integration to order materials and schedule delivery right to the job site.
Production Planning
Schedule crews and provide them with the relevant information needed to do their job – such as photos, work orders, and material orders.
Subcontractor Management
Hire subcontractors, and keep them in the loop with their own project-specific portal that only has the info they need to get the job done.
Homeowner Updates
Keep homeowners informed on every step of the project with their dedicated portal, which includes work schedules, proposals, photos, invoices, and billing information.
Invoicing
Send modern and branded invoices directly to customers via email, text, or post directly to the homeowner portal. Accept debit, credit cards, or ACH.
Payment Collection
Get paid faster with LeapPay, Encrypted and PCI compliant, you can collect credit/debit card and ACH payments in person or remotely with same-day transaction payouts.
Reporting
See a profit/loss analysis to understand how much money you’re spending and how much you’re keeping on each job.
Blah Blah Blah…
You get the picture. We do everything everyone else does – We just do it better.
LeapPay: Simplify Payments and Get Paid Faster
LeapPay streamlines your payment process, allowing you to accept payments in-person or remotely, all within the same platform. With no monthly fees, LeapPay helps improve cash flow, reduce administrative work, and provide a seamless payment experience for both contractors and customers. Get paid faster, track payments effortlessly, and manage everything with ease – all integrated directly and included for free in your Leap SalesPro and Leap CRM subscription.
Learn more about LeapPay
Ready to Bring It All Together?
Compare Plans
See an in-depth breakdown of how Essential and Team’s features stack up.
| Essential | Team | |
|---|---|---|
| Included Users | 1 | 1 |
| Additional Users (Monthly) | N/A | $99 |
| Onboarding Fee (One-Time) | N/A | $500 |
| Customer Support | Phone/Chat | |
| Digital Signatures | 5 | Unlimited |
| Digital Estimates & Proposals | ||
| Lead & Customer Management | ||
| Appointment Calendar | ||
| Workflow Automations | ||
| Production Automations | ||
| Production Management | ||
| Material & Labor Price Library | ||
| Customer & Subcontractor Portal | ||
| Invoicing | ||
| Financial Summary | ||
| Reporting | ||
| LeapPay | ||
| Third-party Integrations |
We Integrate with Everybody
Supplier & Materials
Simplify your estimating, ordering, and
delivery of materials with the power of
supplier integrations in Leap CRM. With accurate, up-to-date pricing and inventory directly from the supplier, everything you need to streamline your ordering process is right at your fingertips.

Measurements
Before your team leaves the office, get accurate measurements of the customer’s home, thanks to our measurement integrations. With quick turnaround times and affordable prices, Leap CRM’s measurement partners help you come prepared to close the deal in one meeting.

Lead Generation
Never go hunting for targeted leads again. Through the power of our lead generation partners and Leap CRM, you get access to homeowners ready to buy right at your fingertips. All the information you need to close the deal is automatically passed from the partner directly into Leap CRM.

Top Questions for Leap CRM
Leap CRM is built to help home improvement businesses of all sizes, from neighborhood contractors and family-owned businesses to national franchises.
Absolutely! Just reach out to our support team to upgrade your account.
Yes, Leap CRM comes with deep integrations with some of the top companies in the industry. You can connect your tech stack to Leap CRM at no extra cost.
Leap CRM is available on desktop as well as Android and iOS devices at no extra charge.
Leap Team comes with custom onboarding sessions with your onboarding specialist. Our team will make sure you are set up for success and understand how to make the most of your subscription.
Yes! Just reach out to our team to learn more about SalesPro and how you can add it to your Leap subscription.
Questions? We’ve Got Answers
Leap is built to grow alongside your business. Let’s determine the right plan that fits your specific goals and needs. With Leap, you can get all the help you need because you have a trusted partner who will get to know your business, respond to your feedback, and make your success our priority.
